In-house hose assembly banner

How Swagelok Builds Custom Commercial Hoses


At Swagelok Minnesota | North Dakota | Appleton, building a custom hose is a detailed, hands-on process rooted in consistency and care. Mark, a technician on the design and assembly team in Chaska, MN, walks us through how hoses are built from order to shipment.  

From exacting measurements and specialized fittings to thorough leak testing, we ensure each hose meets the highest performance standards. With our attention to detail, advanced testing methods, and commitment to consistency, Swagelok hoses are built to handle the most demanding applications with confidence.


Mark, a technician at Swagelok Minnesota | North Dakota | Appleton, takes us through the precise process of building custom commercial hoses, from assembly and testing to final packaging, ensuring quality and reliability.


Step 1: Configuration

Everyday Swagelok’s assembly team logs into an internal system to review commercial hose assembly orders. Mark inputs the details into the hose configurator and pulls parts from Swagelok’s inventory of hoses, connectors, and fittings, ensuring complete compatibility and performance across the entire assembly.


Step 2: Customization

Utilizing the TigerStop, a precision cutting system, Mark is able to program to exact hose dimensions which delivers a clean, precise cut, matching the configurator’s specifications. Upon verification of the cut length, the hose is assembled with specialized fittings and connectors before being transferred to the crimping station.

Swagelok Fluid Systems Blog

Stay informed and ahead—subscribe to our Fluid Systems Blog for expert tips, application insights, and the latest in fluid system innovation.


SUBSCRIBE NOW


Step 3: Crimping for Accuracy

There, a specialized hydraulic press secures the collars onto the hose, creating a strong, leak-resistant bond. Once crimped, each end is measured to verify it meets the configurator’s dimensional specifications. Mark then checks the total length of the hose again to ensure accuracy.


Step 4: Pressure Testing Accuracy

With the hose fully assembled, it's time for testing. Mark preloads the hydrostatic tester with the proper fixtures for the hose being built. He then fills the system and the hose with water and brings it up to 1,000 PSI — the pressure required for this specific test. Testing commences after hose assembly. Mark prepares the hydrostatic tester with the correct fixtures for the hose model. He then introduces water into the system and hose, pressurizing it to 1,000 PSI, the necessary level for this test.

Step 5: Leak Testing Verification

The hose is held under pressure for 30 seconds while being closely monitored for any leaks or signs of failure. If the hose passes, it’s depressurized and removed from the test system.

The final steps involve cleaning, packaging, and preparing the hose for shipment. Only after passing this full process is the hose cleared for delivery to the customer.

This careful and repeatable approach ensures that every Swagelok custom hose is ready for the demands of real-world use.


Explore More Fluid System Insights 

Dive into our latest articles for expert guidance, best practices, and real-world solutions to your toughest fluid system challenges. 

Plant2-2

The Pitfalls of Standardized Solutions in Oil & Gas Operations

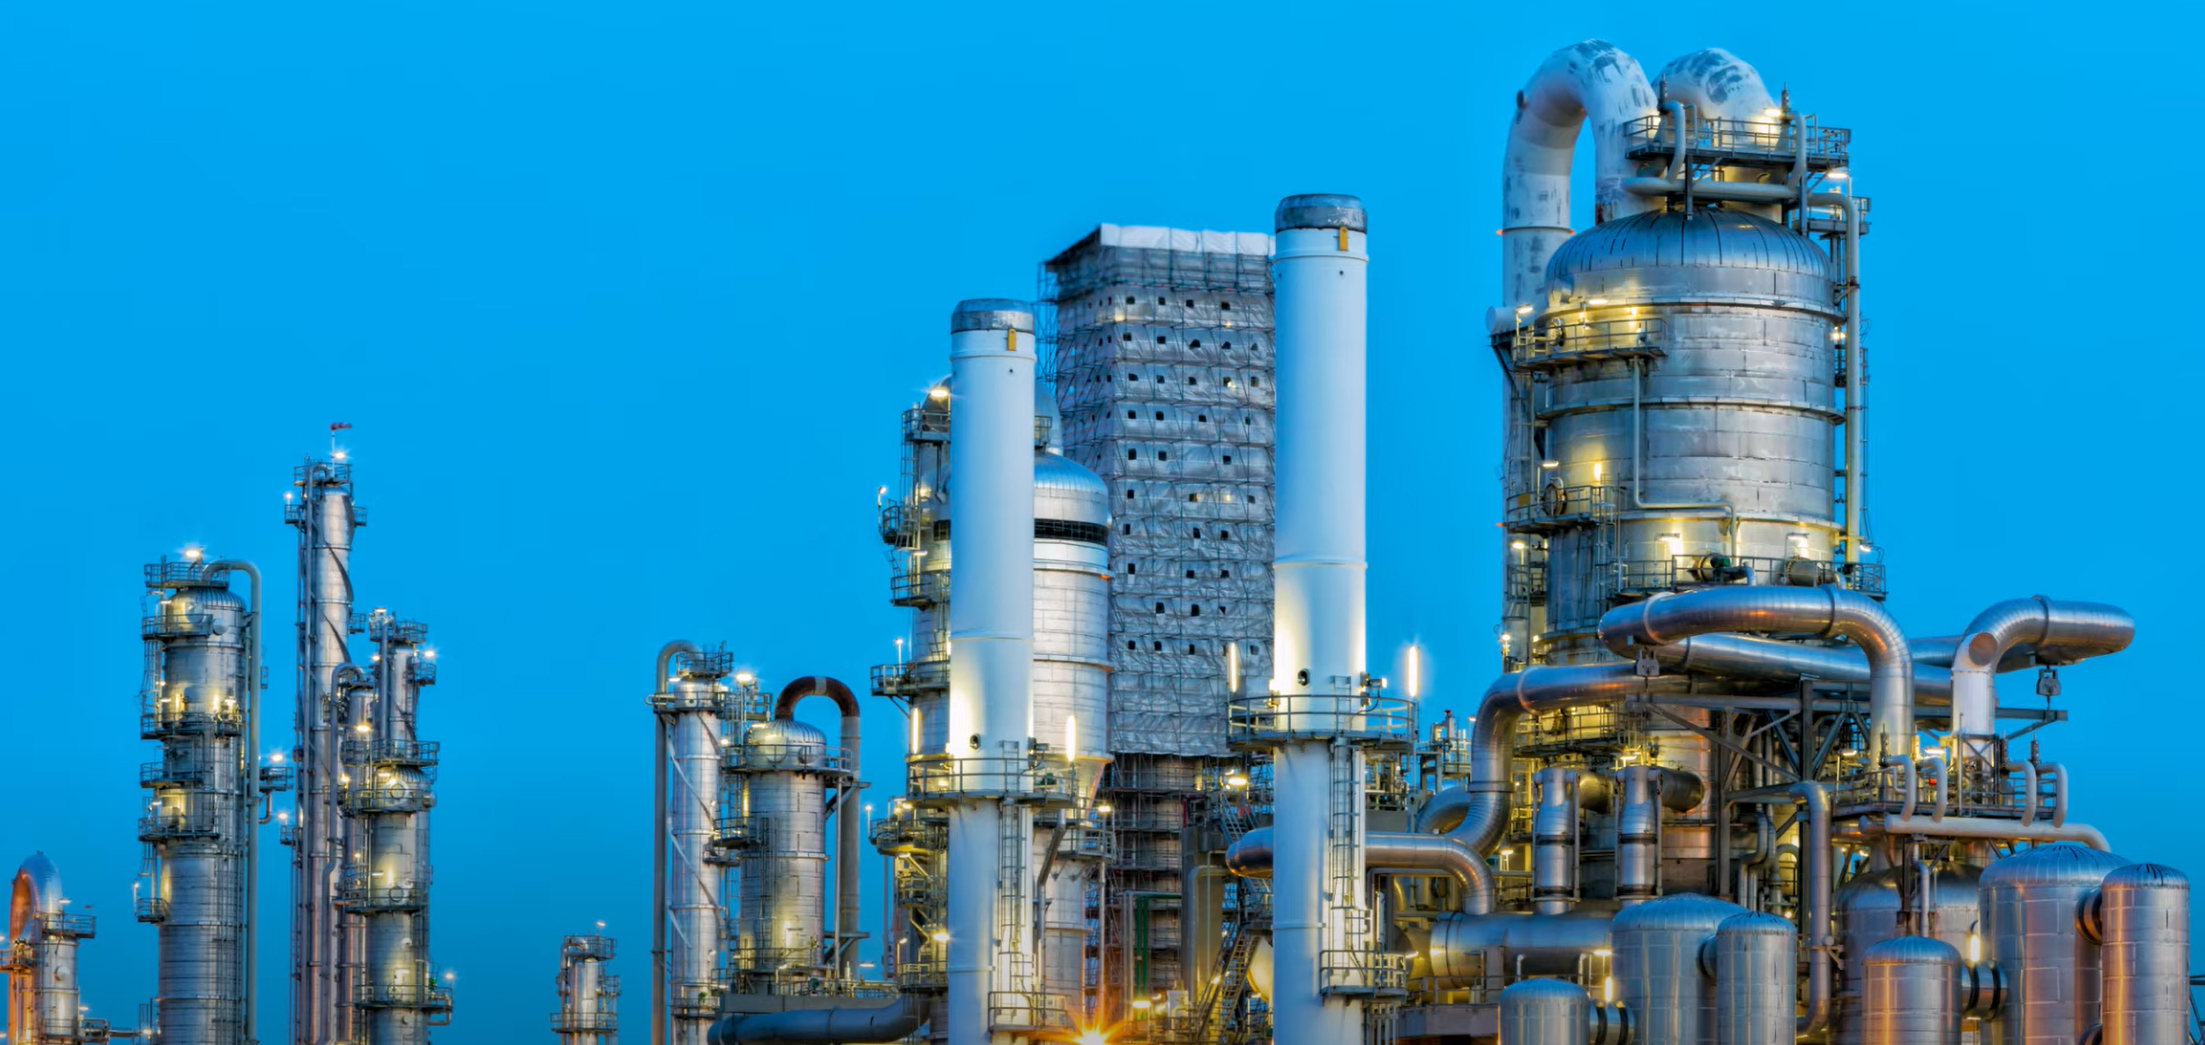
Standardized fluid systems often fail in real-world conditions—Swagelok Minnesota’s custom solutions help oil and gas operations prevent costly failures, improve reliability, and enhance safety in extreme environments.

 
Hydrogenstorage

Hydrogen Leak Detection & System Integrity Solutions


Swagelok Minnesota offers hydrogen leak detection and system integrity services to help prevent leaks, improve safety, and ensure efficient operations.

 
Orbital Welding Jose 1-png

Orbital Welding with the M200 Orbital Welder from Swagelok


Learn how to use the Swagelok M200 Orbital Welder for precise, high-quality welds.